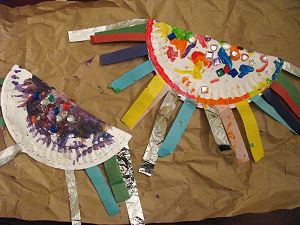
For most cultures, New Year’s is a time for new beginnings. The traditions usually involve cleansing the home of bad energy and welcoming in luck and prosperity. Most likely the origins of the use of noisemakers and firecrackers on New Year’s Eve is to frighten away “evil spirits”.
We’ve made the “rain maker” style noisemakers using water bottles or toilet paper tubes in the past so I decided to try these simple paper plate noisemakers. These are a perfect opportunity for some free painting, which always amuses the kids and fascinates me with insights into their creative development!
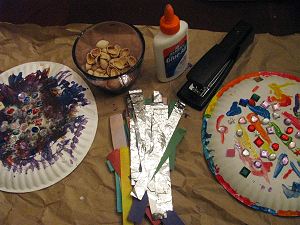
Materials:
- paper plate
- paints (or crayons or markers) and other materials for decorating (we used craft jewels)
- glue
- strips of lightweight construction paper, tissue paper, or crepe paper
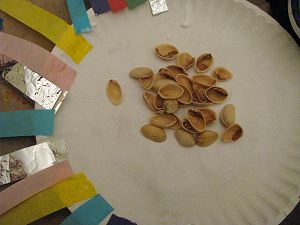
- dried beans, beads, or other rattly item (we used pistachio shells since I have a pistachio addiction)
Directions:
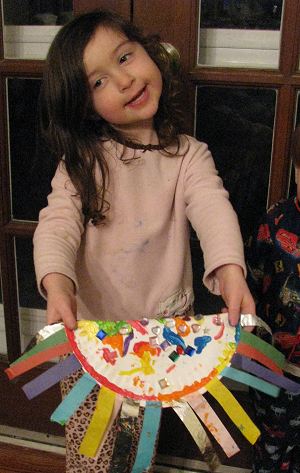
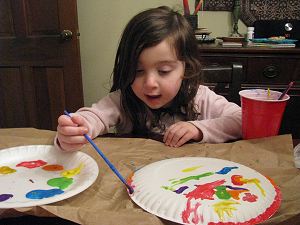
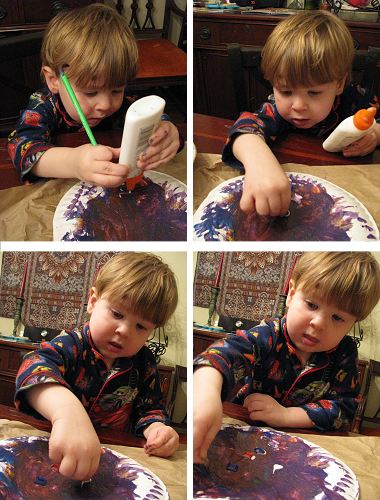
1. Paint the convex side of your paper plate. This was so much fun watching the kids. My son, like a typical toddler, mixed all the colors together to create a brown puddle. Yet, somehow, he knew when his work was “complete”. My daughter, on the other hand, carefully cleaned her brush between colors, painting a rainbow on the circumference of the plate and creating a colorful splash of dots in the center.
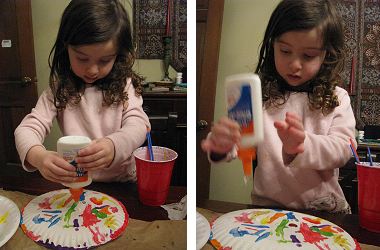
2. Add any embellishments. I enjoyed the look of focus on the kids’ faces as they glued on the craft jewels (fine motor control!)…you can even see my son sticking out his tongue with the effort of his concentration.
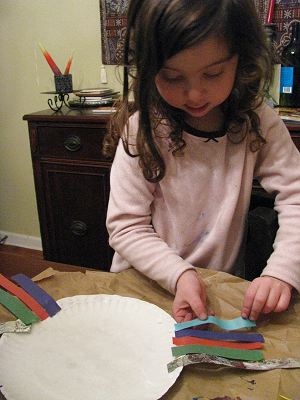
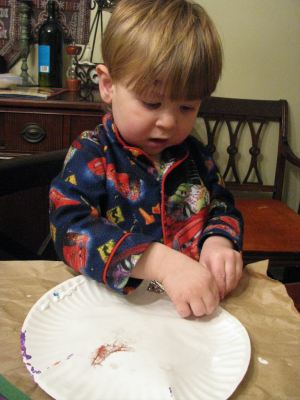
3. After the plates dry, flip them over and glue your strips of paper around the edge of one half of the paper plate. Again, you can really see the difference in how a toddler and a preschooler work. My daughter, without any prompting, began at the outer edges and worked towards the center to create a symmetrical design. My son grabbed the shiny silver strips first and pasted them in whichever spots appealed , then added a blue, then a green, and then lost interest and was ready to move to the next step.
4. Add a handful of your noisemaking material in the center. I recommend something on the larger side unless you seal the edges very well. We used pistachio shells since I had just consumed half a bag of them!
5. Fold the plate and glue and/or staple the edges together (we used the stapler so we wouldn’t have to wait).
Enjoy making noise!
