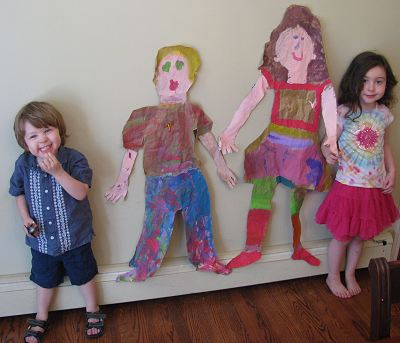
 As we begin the Smart Summer Challenge, or any learning adventure, it is important to start with your child “where she is at”. Learning sticks better when children are able to relate knowledge to their own experiences. This is the “Velcro” theory–new information hooks onto a foundation of earlier observations.
One area in which we all have expertise is ourselves. So, a self-portrait is great place to begin a summer of learning.
We decided to do life-sized self portraits because I think it is fun to do something on a larger scale and I have been saving the paper for this since Christmas! I also considered silhouette collages and may do these at another point in the year.
Materials:
- roll of butcher paper or packing paper
- markers/paints/stickers/glitter for decorating
- scissors
Directions:
1. Trace your child on the paper. We used packing paper because we had some that came in various packages. The paper was wrinkly but it smoothed out once we got started painting.
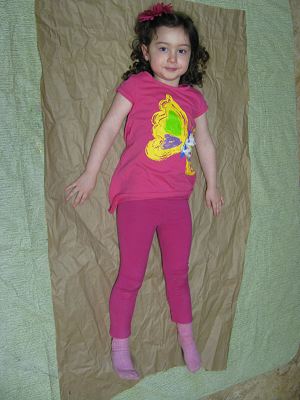
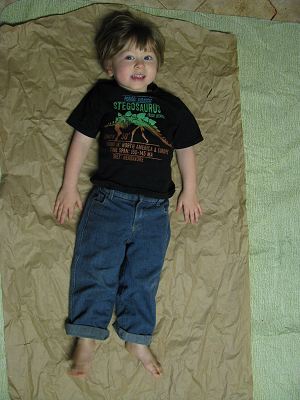
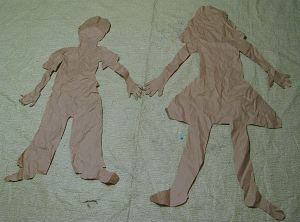
2. Cut out the outlines.
3. Paint and decorate! (We put on PJ’s for this part!)
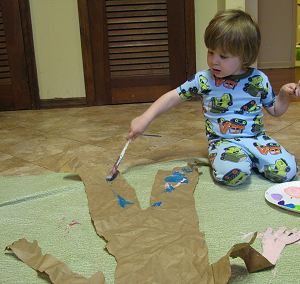
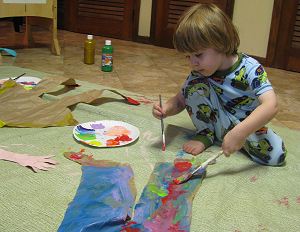
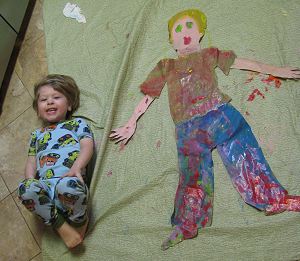
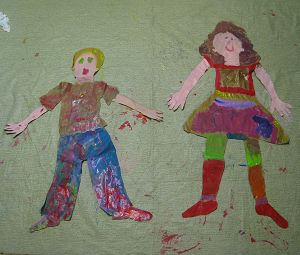
(The pants started out blue like his jeans but quickly acquired more decoration…actually, this is a fairly accurate depiction of what he looked like after painting!)
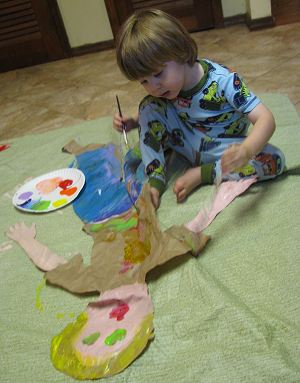
(My son insisted on green eyes, like Mommy and Papa, even though his eyes are blue. I complimented my son on his great mouth–the red circle–and he replied, “No, silly mommy, that’s my nose!” He proceeded to draw a light purple line on the neck, under the red circle.)
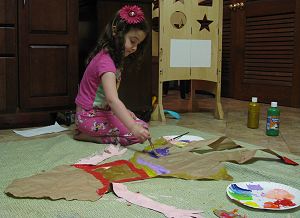
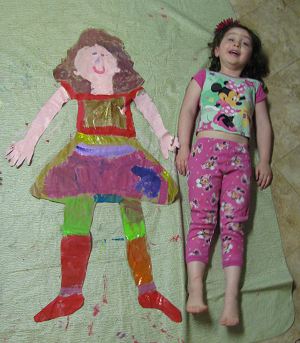
(My daughter was very meticulous about creating her clothes. The red lines are “straps” because “it is summer and it is too hot for sleeves.”)
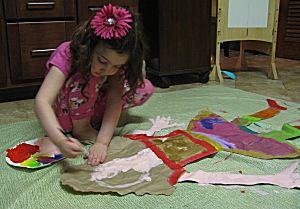
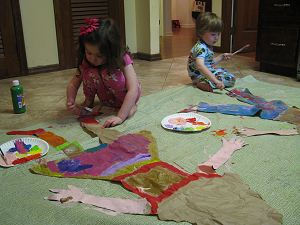
4. Let the paint dry and then display your art!
Questions to Ask During the Process:
- How can you make this portrait look like you?
- Will the portrait be bigger than you, the same size, or smaller?
- What colors do you like to wear?
- What colors can we mix to make the colors you want to use?
- What part of your body / piece of clothing are you painting now?
- Are you happy in this portrait? How will the viewer know?
- What are some of the things you like about yourself?
Extensions for more learning:
- Journal Prompts: “My favorite way to get my body moving is…”, “One thing I like about myself is…”, “One thing I enjoy doing is…”.
- Art History: Look at different artists’ self-portraits. Describe how the artist presents him or herself. Notice how colors, clothing, facial expression, background, and other elements contribute to creating a certain image of the artist.
- Science: Cut-out and paste (ages 3-8) or draw pictures (ages 8+) of the organs of the body in the correct place on the self-portrait.
- History/Culture: How does what you are wearing in your self-portrait reflect who you are? What would children be wearing in other parts of the world?
- Mathematics: The scale in this picture is 1 to 1. Older students can practice drawing smaller pictures to scale and calculating the proportions.
- Language Arts: This is a good opportunity to practice vocabulary for parts of the body in a language other than English. We enjoy singing “Head, Shoulders, Knees, and Toes” in Spanish.

Hello Candace. Just found you via Twitter. Love your life-size self portraits, the tracing and the children’s paint color choices! ( I just posted a self-portrait post on my blog a couple days ago http://zellasaidpurple.blogspot.com/2011/06/this-is-me.html). I look forward to reading more on your blog!! cheers.
I absolutely LOVE this! My two little ones are only 2 & 4 and I don’t think that they (maybe it’s just ME) are up to this one yet, but it is definitely going into my crafting idea book for when I think they are ready! Fabulous! They did an awesome job!
What a cute activity! I totally did that in elementary school and I remember it being one of the most fun projects I’ve ever done. If the pictures are any indication I think your kids agree!
They looked like they both really got into it. What a fun activity for kids.
That looks like such a fun project! Where did you find the paper?
Chrysa – It was packing paper that came as protective packaging…you can also get the plain brown paper you use to wrap packages (it comes as long roll like wrapping paper). If you want white or other colors, it is “butcher paper” that you can usually find at craft, office, or school supply stores!
Such fun! We did those in art class in elementary school. Big projects were broken up by grade, and I remember 3rd grade was a big one because we got to do this project in art class.
I remember doing this project as a kid! I never realized how much learning it packed – I just thought it was fun.
That’s the important part!
Hmm this post remind me of something 😀